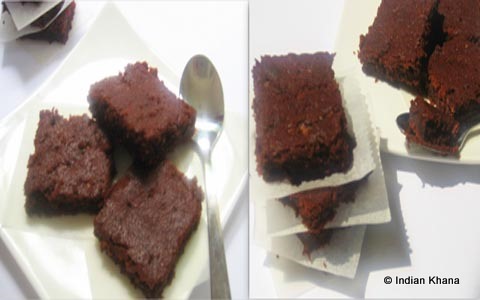
I like simple tea time cakes which has to be easy and quick to prepare and delicious to eat, not to mention little less guilt since we don’t have any icing and goes well with tea/coffee. Today is my sister in law birthday and nothing better occasion to post this simple and delicious cake recipe. Happy Birthday didi.
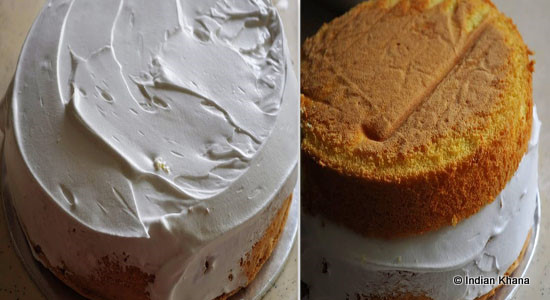
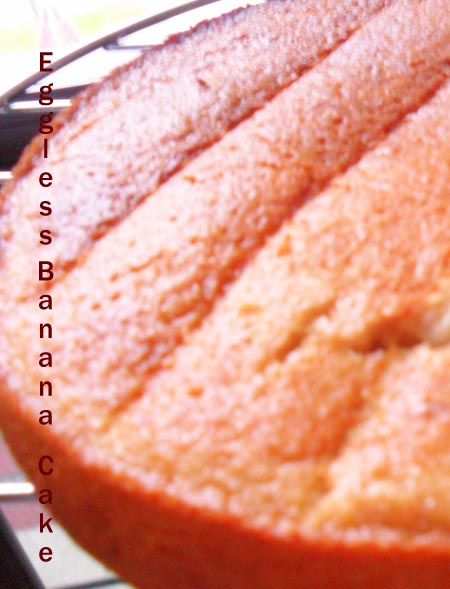
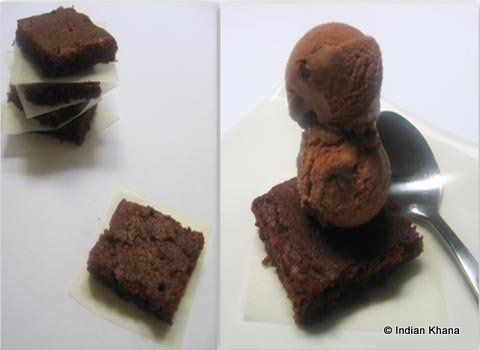
This cake turned out much better than I expected soft, moist and yum. Of all the cakes I have baked so far this one is one of the best tea cake, it’s so simple to make keeper recipe for sure, looks pretty too right? Though am not much fan of chocolate cake but the cocoa effect in this is just so perfect. You have to try this to know what am talking here, I done the baking part in late evening so do excuse the stepwise picture quality I can now see how bad it is
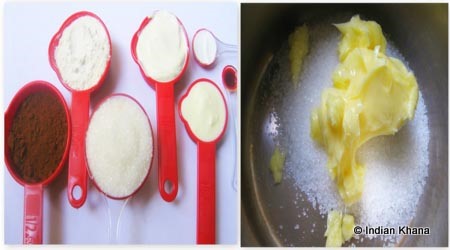
Ingredients:
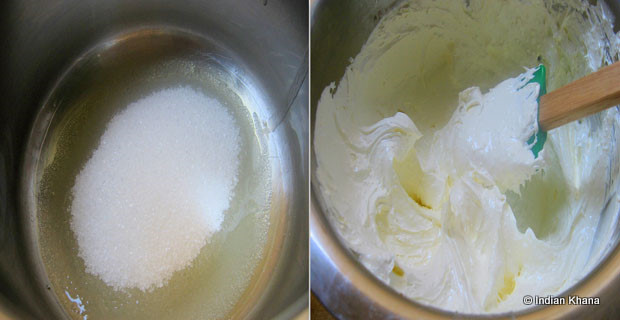
Butter - 150g
Powder Sugar - 150g
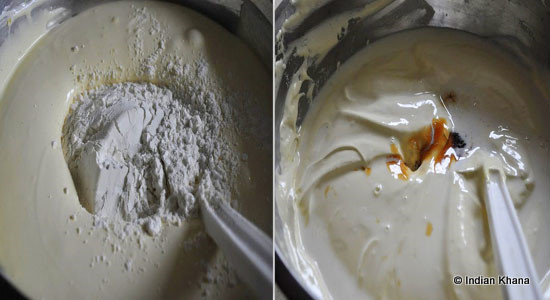
Vanilla Essence - 1 tsp
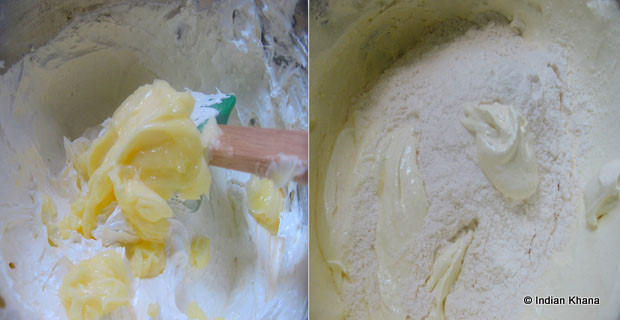
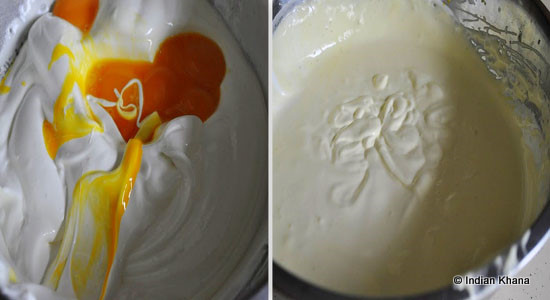
Eggs - 3
Plain Flour - 150g
Baking Powder - 1/2 tsp
Baking Soda - 1/4 tsp
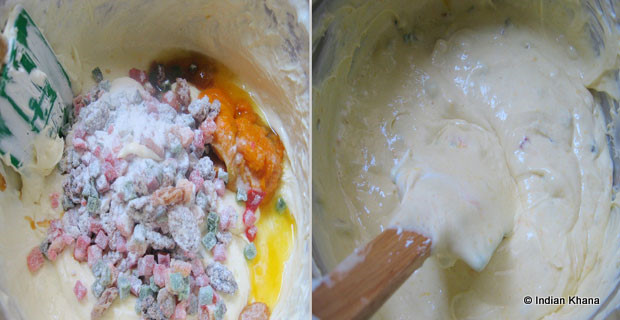
Cocoa Powder - 2 tbsp
Hot Water - 2 tbsp
Method:
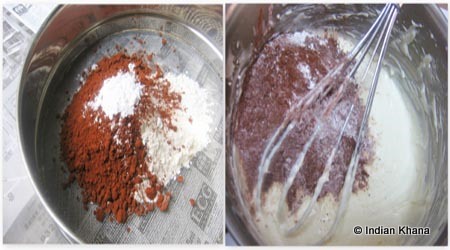
1. Sift flour, baking powder, soda and set aside. Dissolve cocoa powder with hot water in a wide bowl and keep aside, used a wide bowl here so later we can mix the flour batter directly to the cocoa mix.
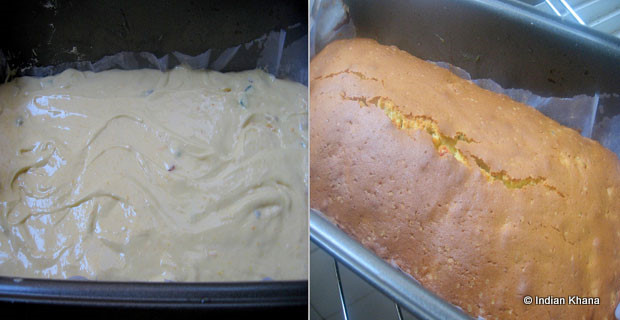
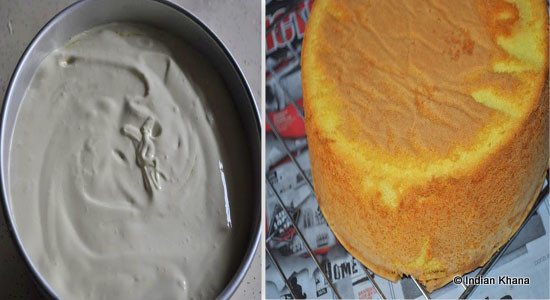
2. Meanwhile Preheat the oven to 180C/356F and grease a 6” pan or a loaf tin. I used loaf tin here.
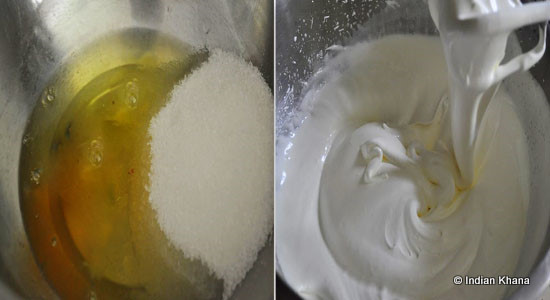
3. In a bowl beat butter, sugar until smooth. Add one egg at a time and mix well to combine everything together. Now add vanilla essence and flour in batches and whisk well to combine. [Do you see how fluffy the batter is?]
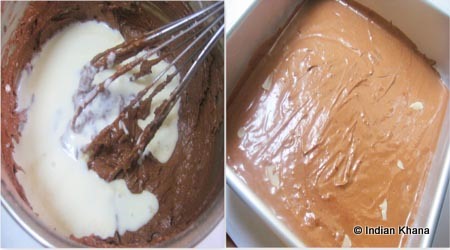
4. Divide the batter in equal portion and combine one portion with cocoa mix and whisk well.
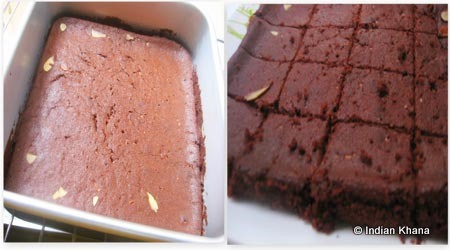
5. Now add 1tbsp of white batter on the pan followed by 1tbsp of cocoa batter, continue doing it until you run out of batter. Create a marble motif with a toothpick or knife, I used a knife here. Don’t over it to and be gentle, swirls looks beautiful don’t you think?
[While you add the batter and if doesn’t spread don’t panic, it will spread or you can gently tap the pan/tin]
6. Bake for 20-25 minutes or until a toothpick inserted in the middle comes out clean, cool on a wire rack and cut in pieces.
This lasted me more than a week refrigerated, till the end cake was soft and moist. And this cake taste better next day.
Have a nice day ~~