Showing posts with label kitchen Basics. Show all posts

Homemade Ginger Powder Recipe


This ginger powder recipe post is pending from the time I posted garlic powder.  Making ginger powder at home is so easy and economical, not to mention freshness we get can’t be compare.  I used to buy ginger powder and never really like the smell and after a while it’s turns into bad smell and taste.  This ginger powder recipe is again my SIL recipe, she makes this in huge batches and keep.


I had step vise picture, now it seems I lost those, but this recipe is so simple and straight forward that stepvise pictures are really not indeed.  You can make this in small quantity for a start if you want and store.  Try this once and you will not go back to store brought ginger powder anymore.  If you like ginger tea then mix little amount of this ginger powder with tea dust/powder and store, you easy instant ginger tea ready.


Ingredients:
Fresh Ginger - 1/2 Kg or as you want


Method:

1. Wash ginger 5-6 times in fresh water each time or until ginger gets very clean.  We don't have to peel ginger.
2. Chop ginger in to small pieces.  Smaller you make better it is.
3. Sun dry ginger pieces in a clean cloth for 2 days or until ginger gets completely dried, it may take 1 day or 3-4 days too.
4. Once ginger is totally dried pulse in mixer or spice grinder into fine powder in batches if making in large quantity.
5. Sieve ginger powder, transfer back the remaining amount into mixer and grind again.
6. Sieve one more time and sun dry for 30 minutes ginger powder again.
7. Store in air tight container and use as required.

The powder you see in picture is more than a year old and it’s still fresh with strong fragrance. 


 Have a nice day ~~

Homemade Dabeli Masala Recipe

 2
I like to make my own masala powders instead of buying ready made as homemade ones are always fresh, fragrant full and nothing can beat that.   Coming to this dabeli masala I made for my Dabeli obviously right?  Well you can use ready made ones but then it’s so easy to make at home and hardly takes 5 minutes then why not?  Most of the ingredients are always available in your pantry so give it a try, this masala you can use for pav bhaji or as normal garam masala too not just for dabeli.   I made this in small quantity and these ingredients makes around 2 tbsp of masala, if you want you can double or triple the ingredients, make this in large batch and store.  But then it’s so easy to prepare then why to store just make fresh every time you need.
*Different color of masala you see it's due to lighting, so ignore that please.

Easy homemade dabeli chaat masala powder recipe  copy

Also check out how to make Dabeli

Recipe for Dabeli Masala

Ingredients:
Cumin Seeds - 1 tsp
Fennel Seeds - 1/2 tsp
Black Peppers - 1/2 tsp
Coriander Seeds - 1 tsp
Clove - 5
Dry Red Chilies - 5 [stems removed]
Mace (Javitri) - 4 blades  [or powder 1/4 tsp]
Nutmeg Powder (Jaiphal) - 1/4 tsp
Whole Star Anise - 1
Bay Leaves - 2
Black Cardamom - 1
Green Cardamom - 4
Ginger Powder - 1/2 tsp

Paav Chaat Dabeli Masala Recipe
Method:
1. Dry roast all ingredients one by one until fragrant.  Don't roast any powder if using like nutmeg, ginger powder etc.

Dabeli masala recipe

2. Allow everything to cool down, transfer to a mixer or blender and grind to fine powder. 
home made Dabeli Masala powder recipe
That’s all it’s as easy as this and our dabeli masala is ready. 

Homemade Dabeli Chaat Masala Recipe

Have a nice day ~~

Home made Garlic Powder | How to make Garlic Powder


Homemade garlic powder
I like to use garlic powder in savoury baking plus now in my everyday cooking just cause I love garlic.  So I wanted to make my very own garlic powder at home some time back like couple of years ago, but I  found it’s required lot effort or a dehydrator to make a good garlic powder !  After I while I gave on the idea and totally forgotten about it until My sister-in-law made garlic powder at home without any special gadgets and when I saw the garlic powder it’s texture was exactly like any readymade garlic powder with much more stronger smell.  I immediately ask my SIL how she did it only to realised how obvious it was, proving making garlic powder at home is so easy and anyone can do it. 
Garlic powder recipe home made
When I did post on how to make almond flour I never thought it will become one of the popular post of this blog with numerous feedback from readers, it’s good to know simple things does help some one and with same motivation doing this post on how to make garlic powder at home.  If you think procedure it’s long then let that put you off it’s quite easy.  There’s nothing like fresh home made garlic powder and not to mention money we can save.  
Tutorial on homemade garlic powder recipe
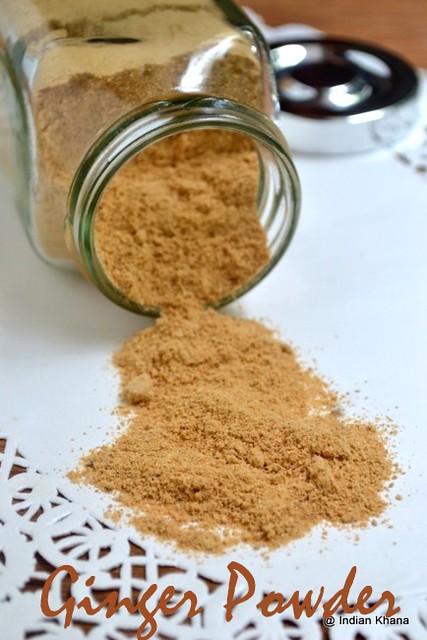
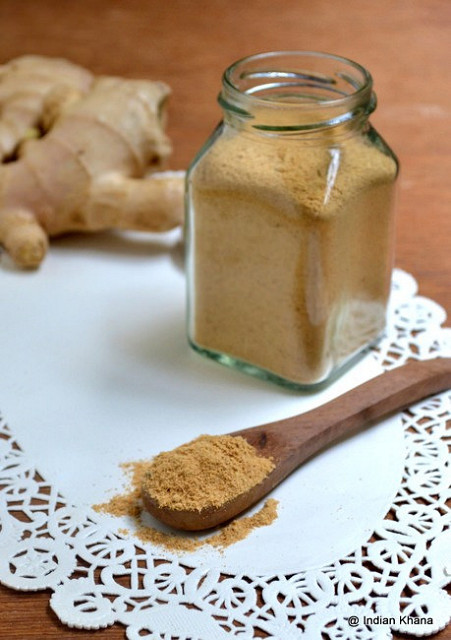
How To Make Garlic Powder
Ingredients:
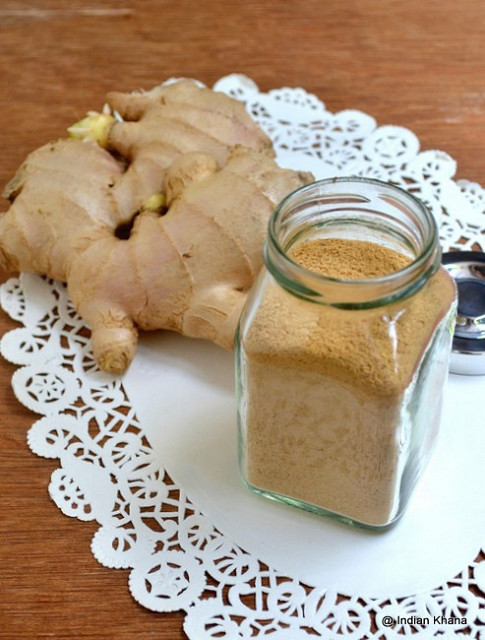
Garlic Pods - 1 Cup [ or use as much as you like]
Method:
1. Peel garlic and dry under sun for 2 days.  [You can slice garlic pods if having large pods like in this post pictures]
2. Grind peeled and dried garlic in a mixer, food processor or coffee grinder and pulse for 2-3 minutes until it become smooth paste.  Every time don’t pulse more than 30 seconds.
~ Don’t panic if you see garlic has become paste instead of powder, we have little more work to make paste into powder.
3. Take a plastic sheet or clean thin cotton cloth and spread garlic spread in very thin layer(spread garlic paste over plastic sheet or cloth evenly), dry under sun for 4-5 days.   Garlic paste will be become like thin crackers/pieces and it will come out of sheet or cloth easily.
~ If you break and crush between fingers garlic dried pieces (crackers) will become powder.  If you feel it’s still little wet or forming lumps instead of powder then you have to dry for 1-2 days again.  Repeat the test until you get powder consistency.
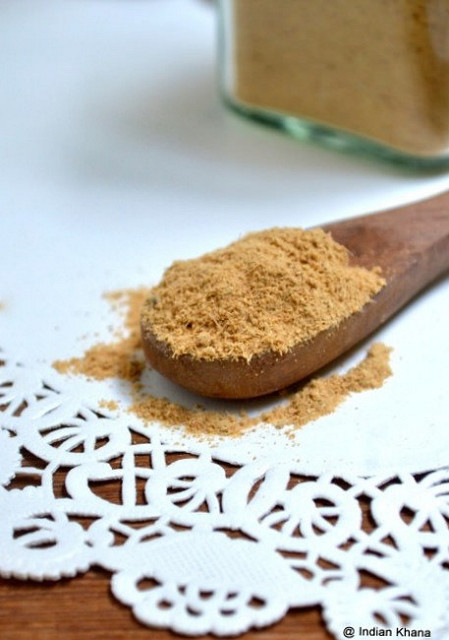
4. Collect all dried garlic pieces and pulse again for 1-2 minutes in a dry mixer or food processor this time not more than 15 seconds for each pulse.  You will get your very own garlic powder.
5. Spread powder on a sheet/cloth or paper and dry under sun for 1hour, don’t dry long if not powder will start to form lumps. 
~ We dry one last time for 1 hour to remove any moisture from grinding. 
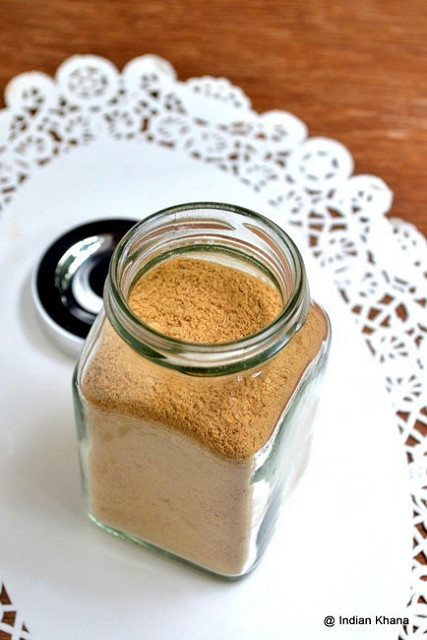
6. Store in air tight jar/container.
Note:
1. Instead of sun drying you can dry peeled garlic in oven.  Preheat oven to 150degree and toast garlic pieces until it completely dry, stir in regular intervals.  After it cools down grind into powder and do step 5.
Easy homemade garlic powder recipe garlic recipe
How to Store Garlic Powder
Now this is important, when I used to buy garlic powder I realized very soon that if kept at room temperature it’s forms lumps very quickly and I started to keep my garlic powder pack in fridge and use as and when required or keep outside only a small amount.
So here we have to do same thing, keep your garlic powder jar/container in fridge and use as required.  Or keep small quantity outside for daily use. 
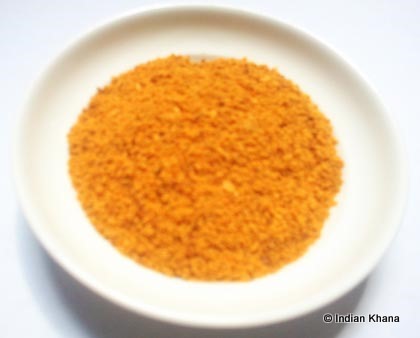
Now, if you keep garlic powder in fridge it will still be forming lumps like you can see in below picture, this huge piece is of garlic powder kept inside fridge.
Home made garlic powder recipe
If I press with finger with no pressure it’s easily becomes powder again, you can see in below picture a small dent and powder beneath it.  That’s the portion I pressed with my finger and it started to crumble in powder.  For this size of pieces I generally press it down with back of ladle or spoon.
How to make Garlic powder at home
So far so good?  But if you notice below picture carefully these pieces of garlic powder is not easy to break as above because it got moisture and formed lumps.  If I press again with my fingers it won’t become powder but it will be little  sticky.  Here again I use spoon to break this lumps in small pieces and then to press those small pieces to make it powder.  Every time we may not get powder but tiny pieces due to moistures so just use it those pieces in your normal cooking. 
Easy garlic powder home made recipe
Few pointers to keep garlic powder intact for long time (easily for 6 months)
1. Use clean, DRY,  air light container/jar to store garlic powder
2. Every time use clean and dry spoon. [Never use hand  and touch garlic powder]
3. Immediately close jar again after taking our required quantity.
4. Store in refrigerator.
5. If making in large batch say for 1kg or 2kg of garlic, for daily use store small quantity in small bottle or jar and remaining in another large bottle.  Store both jars in fridge.
how to make garlic powder recipe
I hope you find this post useful, if any doubts do ask me.
Have a nice day ~~

How to make Almond Flour | Homemade Almond Flour


Almond Flour is used mostly in baking or in our Indian Sweets.  As almond flour is so expensive in stores, why only they know.  So how about we make our own almond flour?  It’s one of most simple thing to do or make and hardly takes anytime plus what’s better than fresh, home made almond flour what you say?

Homemade Almond Flour Recipes

If you make almond flour at home you can save up to 60-70% of your money, how cool is that?  So next time before you pickup that almond flour pack think about the savings you can do.    Now there are two ways we can make almond flour, one with blanched almonds and another one with plain almonds ie with skin.   So if you ask what’s the difference between both then here it is, almond flour made of blanched almonds are white in colour which is mostly used in baking, sweets.  And flour made with almonds with skin might have this light bitter taste, dark colour due to skin but actually the skin has so many nutrients value that we should try to use almonds with skin if possible. 
Before we see how to make the flour let’s check out how to blanch and sliver almonds.  I had few of my reader asking how to sliver almonds from long now, and I know one particular person going to very happy to see the procedure.  It’s again as easy as boiling water, yah. 

How to blanched almonds at home recipe
   
How to Blanch Almonds

1. Measure almonds you want to blanch, here am using 1/2 cup of almonds.
2. Bring water (around 2 cups) to good boil in a pan. 
3. Place almond in a wide bowl and pour boiling water carefully, water should be just above almonds level.  Let it sit for 30 minutes if you are blanching 1/2 to 1 cup of almonds. 

Blanched Almonds at home recipe1

4. Strain the almonds and run over tap water to stop them from cooking, and pat dry almonds using tissue or kitchen towel.

Blanched Almonds at home recipe

5. Now you will be able to remove the skin easily.  Once almond are cool enough to touch either peel of a small section using nails and then peel rest of almond peel.  Or press almonds between thumb and forefinger, the skin will come off easily.   Yes it’s that easy. 

Blanched Almonds at home recipes

Work through all the almonds like this, you can do this while watching tv too. Pat dry the almonds again and store in fridge in a air tight container or zip lock bag if using later.

How to blanched almond at home recipe

Just slice the blanched almonds to almond slivers.   Do the same for storing as above.  It stays good for 3-4 weeks in fridge and for couple of months in freezer. 

Blanched Almonds Recipes
   
How to make Almond Flour/Almond Powder

Now that our blanch almonds are ready we can make the flour.  You can use mixer, coffee grinder or blender, what ever you are using make sure it’s clean and dry.  If you are using more then 1 cup of almonds then do in batches.  For each batch do not use more then 1 cup of almonds.  Just remember blanched or plain the almonds has to be in room temperature.

~ Place blanched almonds (am using 1/2 cup of almonds here) and pulse for 3 to 4 times and each time not more than 10 seconds if you are using mixer.   In case of coffee grinder or blender you can pulse 3 to 4 times for upto 30 seconds.  If we pulse it for long time then almonds will start releasing too much oil and you will get almond butter instead of flour.  Here am showing you guys the process of making almond flour from both plain and blanched almonds.  For plain almonds, just put it in jar we don’t have to roast or do anything. 

Almond Flour3
If the mixer is getting hot then rest for a while and allow it to cool down and pulse again.   Now sieve the flour, the pieces can’t make through the sifter put it back in the mixer or blender again and pulse for 3-4 times and sieve again. 

Homemade Almond Flour Recipes2

Now if you see any more tiny pieces left in sifter don’t pulse it.  That’s our almond meal, you can use it for any gravy or in your baking.  I simply added mine with wheat flour and made roti.  

How to make almond flour at home recipe
Here our almond flour is ready to use.

Almond Flour Recipe  Homemade

Storage:
If you are using later again put it in zip lock back or container and keep in fridge, stays good for 3-4 weeks in fridge and for couple of months in freezer.   Use as required for baking or dessert. 

Almond Flour Homemade Recipe
Have a nice day ~~

Bisi Bela Bath ~ BBB

I love one pot meal, am sure most of you feel the same way and Bisi Bela Bath is one such wonder.  But the traditional way of making BBB is not really one pot meal wonder as it involves as of work ..or at least that's what I feel but then short cuts doesn't really match up to traditional taste. 


We have see many ways of making Bisi Bela Bath but for me I always hooked to Lakshmi'sBBB recipe.  Every time I try her recipe it comes out so well delicious.  Thanks LG for the wonderful recipe.  But I do make few changes to her recipe and here is my version.
 
Ingredients:

Rice - 1 cup
Pigeon Peas/ Toor Daal - 1 cup
Vegetables - 1 cup ( I used 2 cups of chopped carrot, beans, eggplant,  cauliflower, ivy gourd, peas)
Onion - 1 large
Green Chili - 3
Grated Coconut - 1/4 cup
Thick Tamarind Paste - 2 tbsp
Sambar Powder - 1 tsp [optional]
Oil - 1 tbsp
Salt - to taste
Water
Cilantro - 2 tbsp chopped for garnish


For Tempering
Clarified Butter/Ghee - 2 tbsp
Mustard Seeds - 1/2 tsp
Curry Leaves - few
Asafoetida - a pinch

For Bisi Bela Bath Masala
Channa Daal - 1 tbsp
Urad Daal - 1 tbsp
Coriander Seeds -  1tbsp
Poppy Seeds - 1 tbsp
Fenugreek/Methi Seeds - 1/2 tsp
Nutmeg Powder - 1/4 tsp
Red Chillies - 12-15 [ to taste]
Cloves - 4
Cinnamon - 1" piece
Cardamon - 1 [optional]


Method

For Masala ~

Roast all the daals until golden brown and all the other ingredients, once cooled grind into fine powder.  
~ You can add water too, but I don't so I store the powder and use later.


1.  Wash and soak dal and rice separately for 1 hour or more and pressure cook for 3 to 4 whistles separately too. 
~ You can also pressure cook the vegetables separately. 

2.  Chop onion and all the other veggies. Slit green chili.

3.  Heat oil in a pan add onion and chili, add few curry leaves too and saute until onion becomes golden brown.

4.  Add cauliflower, carrot and beans and saute for 2 -3 minutes followed by all other veggies and saute for 5 minutes in medium heat. 
~ If you boil or pressure cook the veggie then avoid this step.


5. Add prepared bisi bela bath masala and sambar powder (if using) stir well and cook for a minute.
~ I don't add all the BBB masala but just use 2 tbsp of it. 


6.  Add tamarind paste and bring to a boil, when masala gets cooked add salt and coconut.  Add water if required.


7.  Add dal and rice and mix well.  [if required move everything to large pot].


 8. Prepare tempering using the ingredients listed and add the tempering to rice mixture.  


 9. Check for salt, cover the pot/vessel and let it stand for 10 minutes. 


Serve with Raita & chips, pappad. 


I made onion and cucumber raita.  

Chop 1 onion, 1/2 cucumber, 1 green chili, Cilantro.

Beat 1 cup curd, add chopped onion, cucumber, chili, salt and mix everything.   Garnish with little red chili, cumin powder and cilantro .  


Enjoy hot steaming bisi bela bath :)


Have good day ~~